


When it comes to easy home improvement projects, creating a gallery wall is at the top of the list. Building a gallery wall is also a great way to give new life to old pieces. From vibrant oil paintings to vintage signs, using a mix of wall art from different eras can transform your space and complement your style. In this guide, we’re sharing how to create your own with tips from our Rejuvenation Vintage team, Jordan Jordan and Justin Grow. Read on to find out everything you need to know—from collecting vintage wall art to how to hang it.
Start Collecting
The first step is curating the right look for your space. Before you even get out the hammer and nails, think about what you like and collect with purpose. Remember, a gallery wall can change with time—you can add and subtract pieces—but starting with a clear intention is key.

When it comes to collecting, Jordan and Justin approach their personal collections in their own unique ways. Justin, who grew up with an artist father and a family-run frame shop, enjoys collecting original art from antique shows and flea markets. “There’s too much good original art out there to buy reproductions,” he shares. “Your new favorite piece might be something unexpected—art doesn’t have to be fancy or expensive. It just has to speak to your heart in some way.”
Jordan advises, “Don’t look too consciously and a true theme may emerge.” His own personal collection of photographs from the Oregon Historical Society and watercolors of salmon and nature are testament to this—reflecting his upbringing in the Pacific Northwest.

One good place to start looking is in our own vintage collection. From pastel paintings depicting pastoral scenes to fun Mid-Century Paint by Numbers, we source our pieces from all over, choosing special items to meet a variety of tastes. Plus, our collection is continuously growing and changing so we recommend checking often to see what you might find.
Project Tip: Along with your vintage finds, adding family photos, heirloom pieces, or gifted works of art is a beautiful way to pay homage to your unique story. Give your gallery wall a purpose with a focal piece, like a large portrait or landscape painting, then layer in medium and smaller pieces around it.
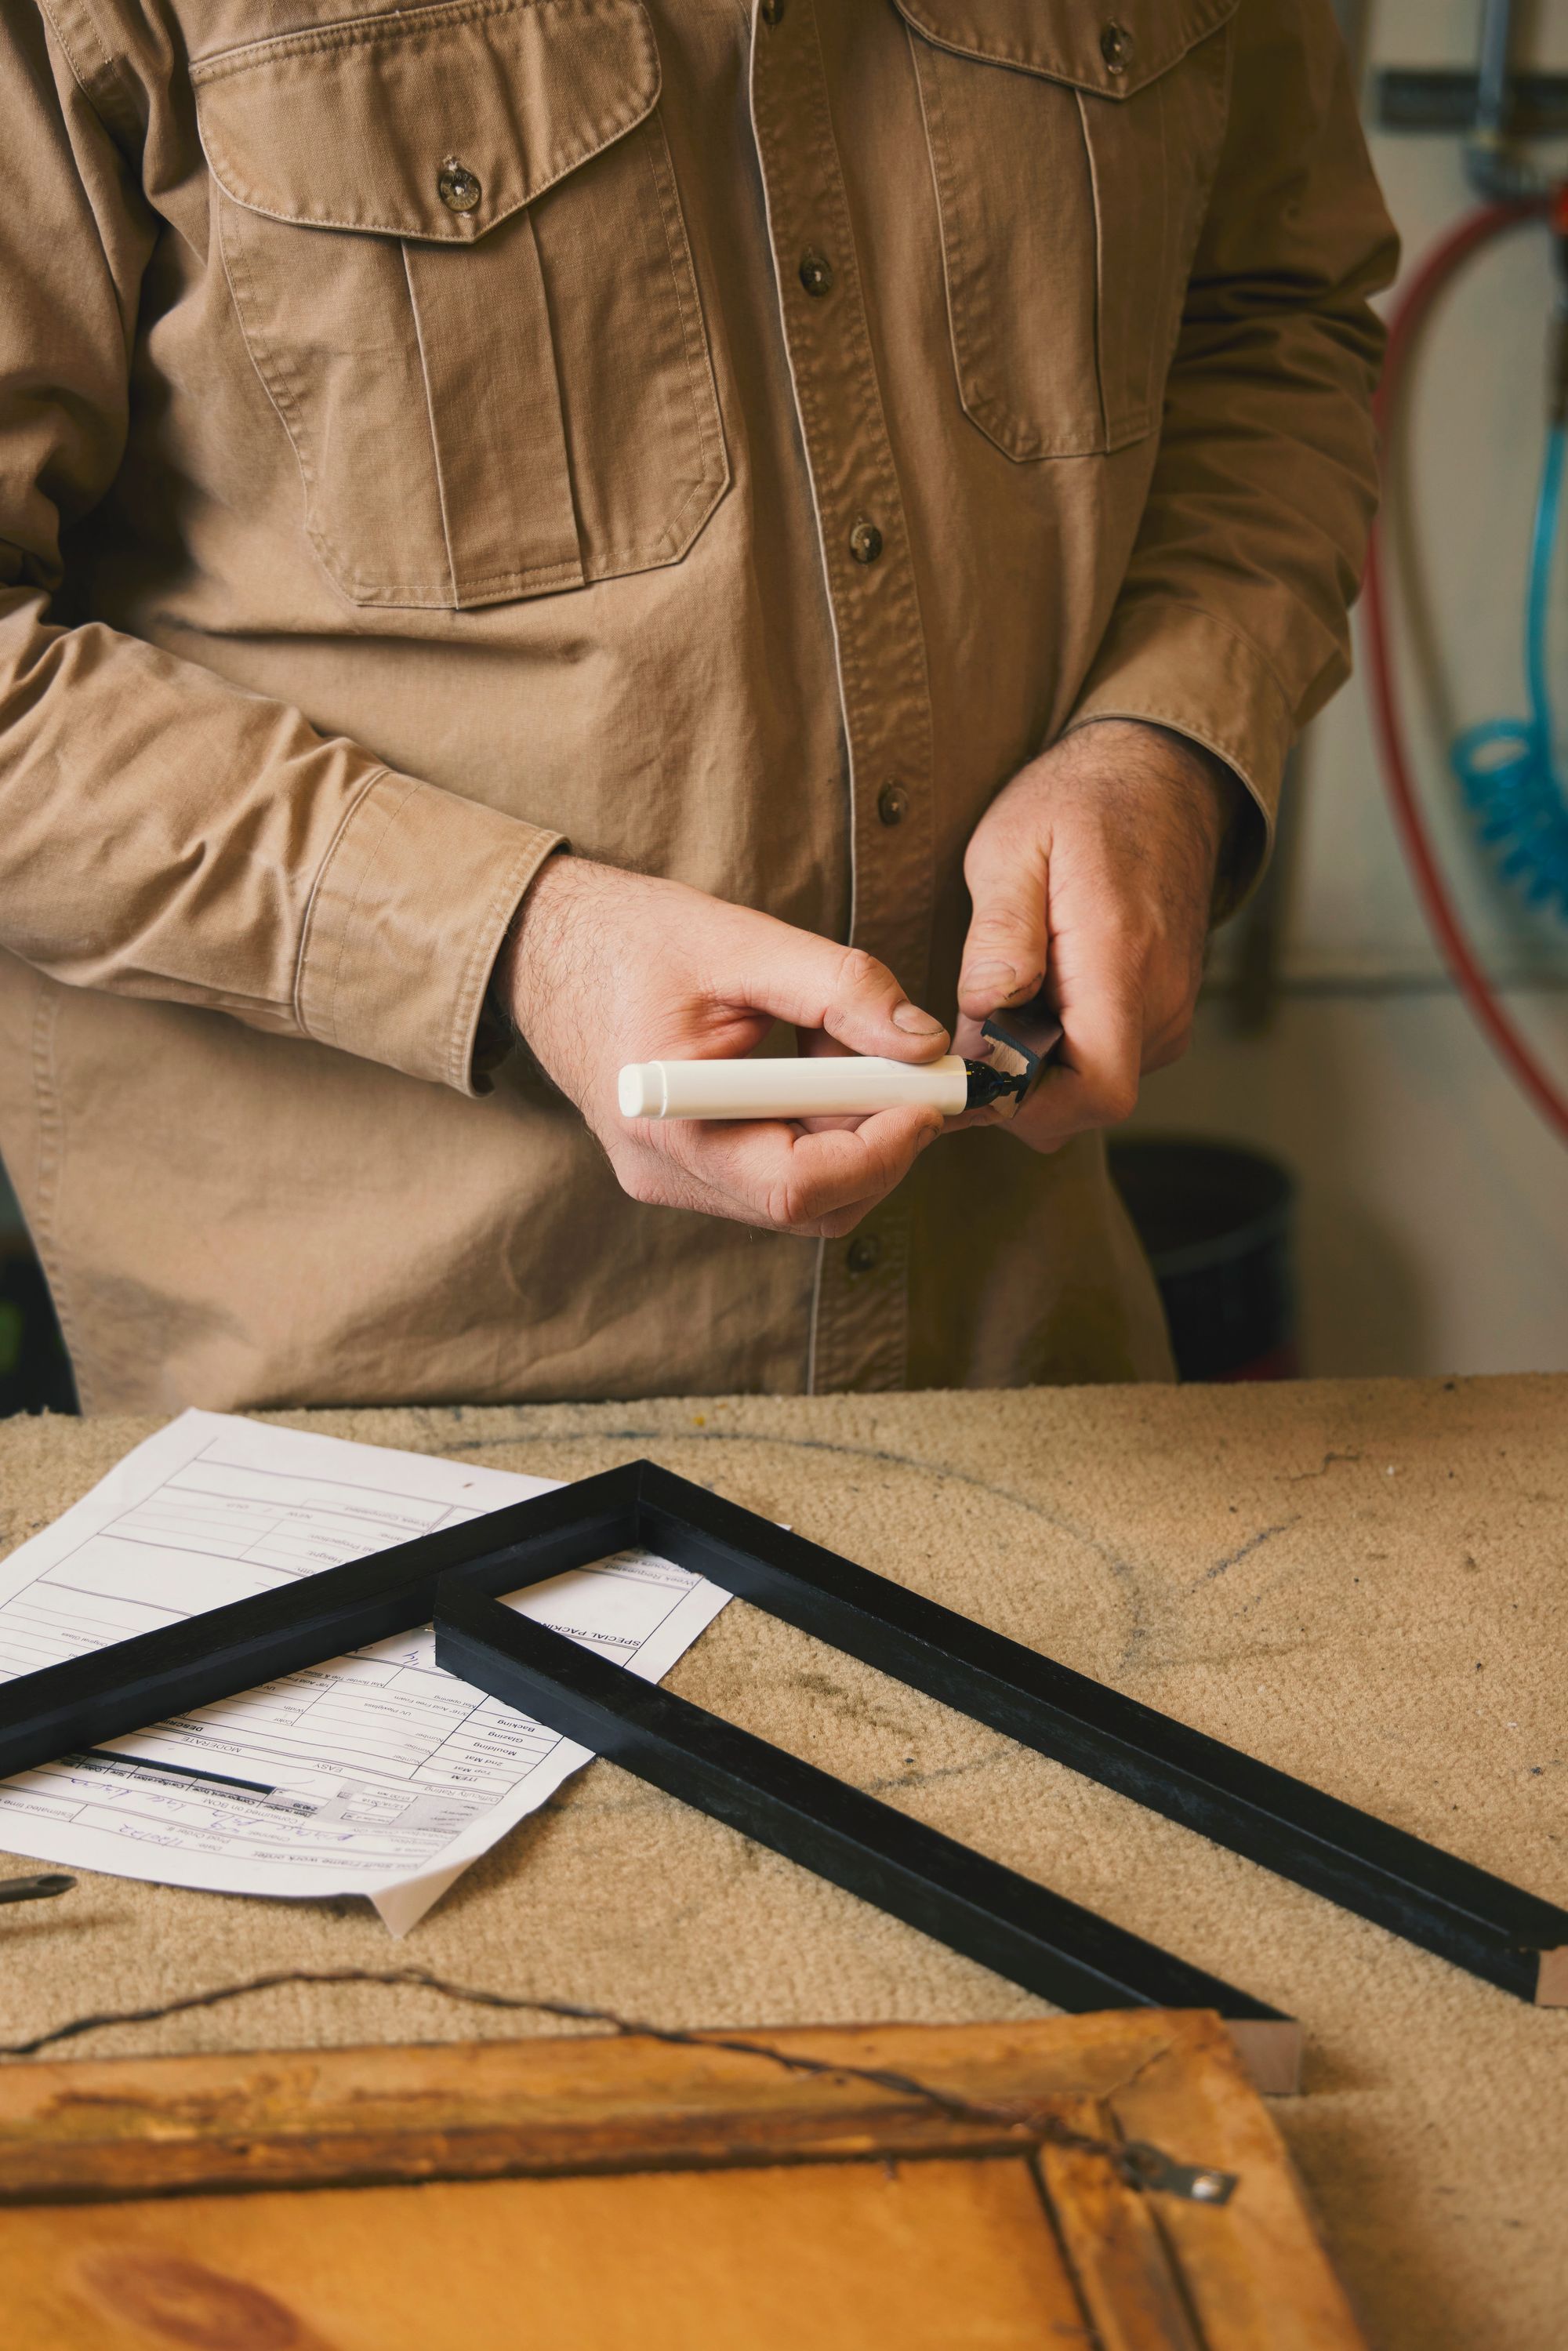
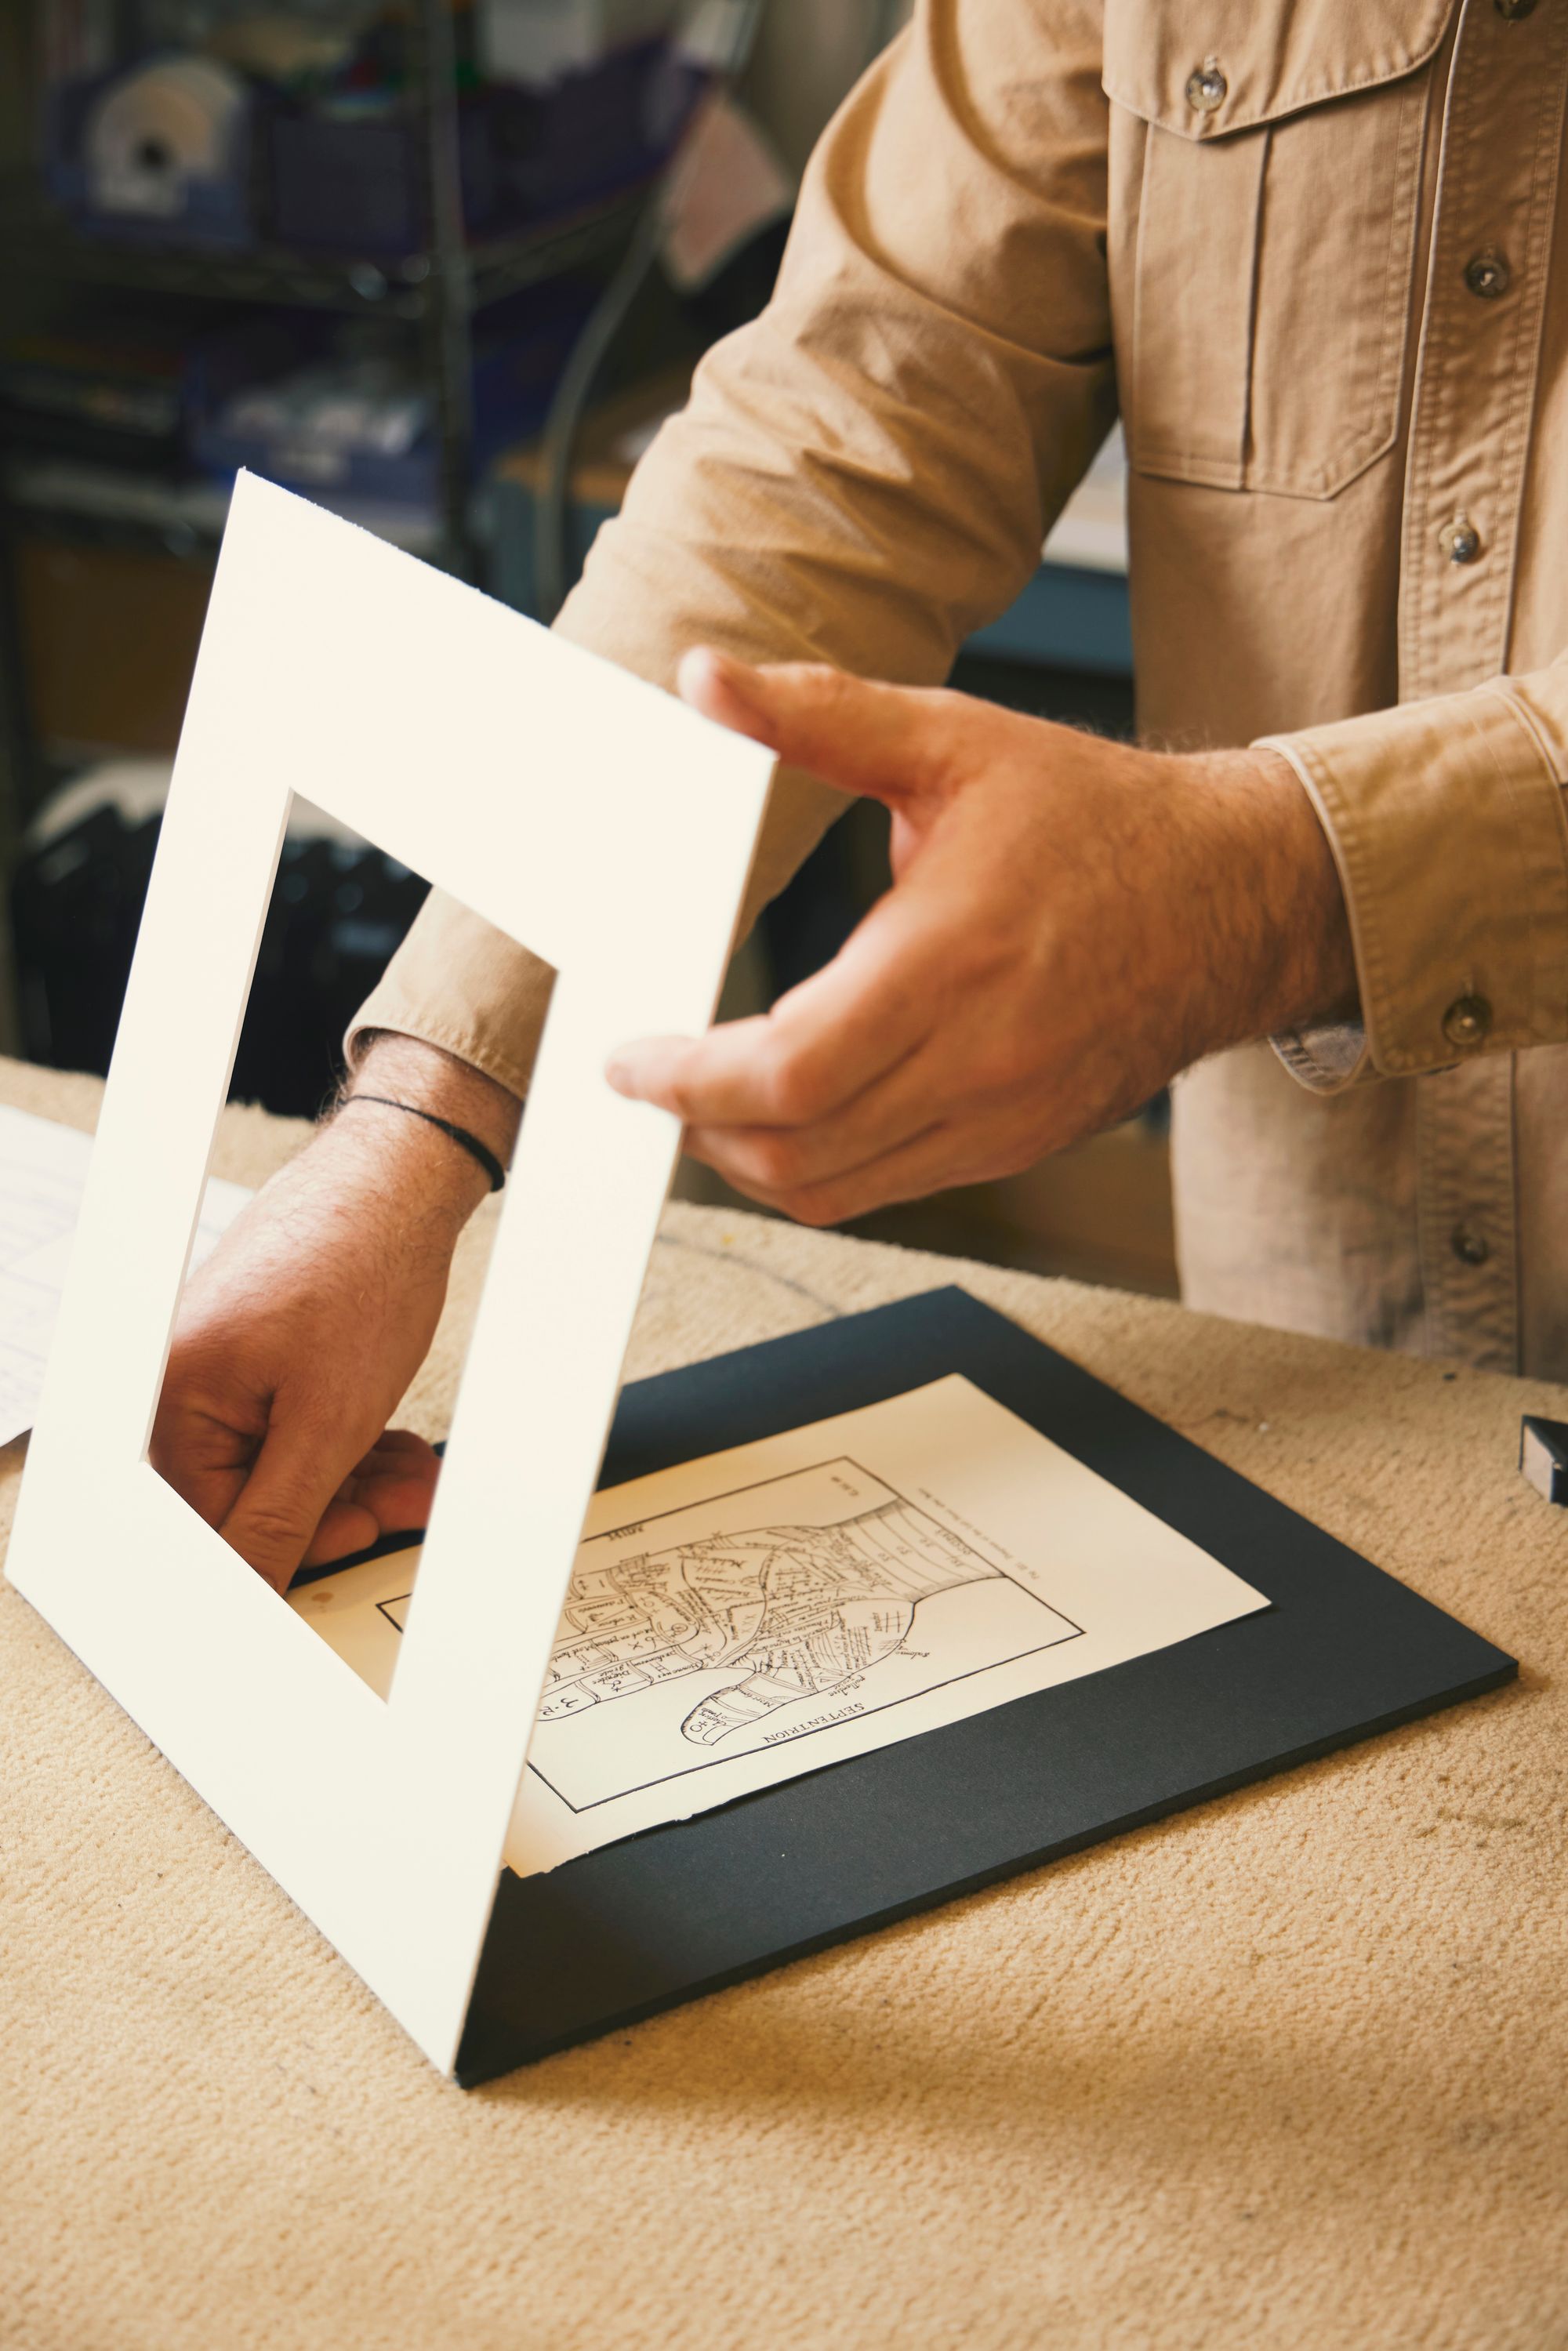
In our frame shop, our restoration team focuses on carefully repairing and restoring artwork, preserving as much as possible and reframing when necessary. “Custom frames always look better,” shared Justin. “Premade frames make the artwork shrink and it won’t look as good.” Whether it’s a painting, print, or photograph, we protect each work of art with archival matting materials. Cloth and paper ephemera are preserved under UV-filtering acrylic glazing—though we recommend avoiding direct exposure to sunlight. All items are re-backed and ready to hang in your home with mounting wire or hangers.
Placement & Composition
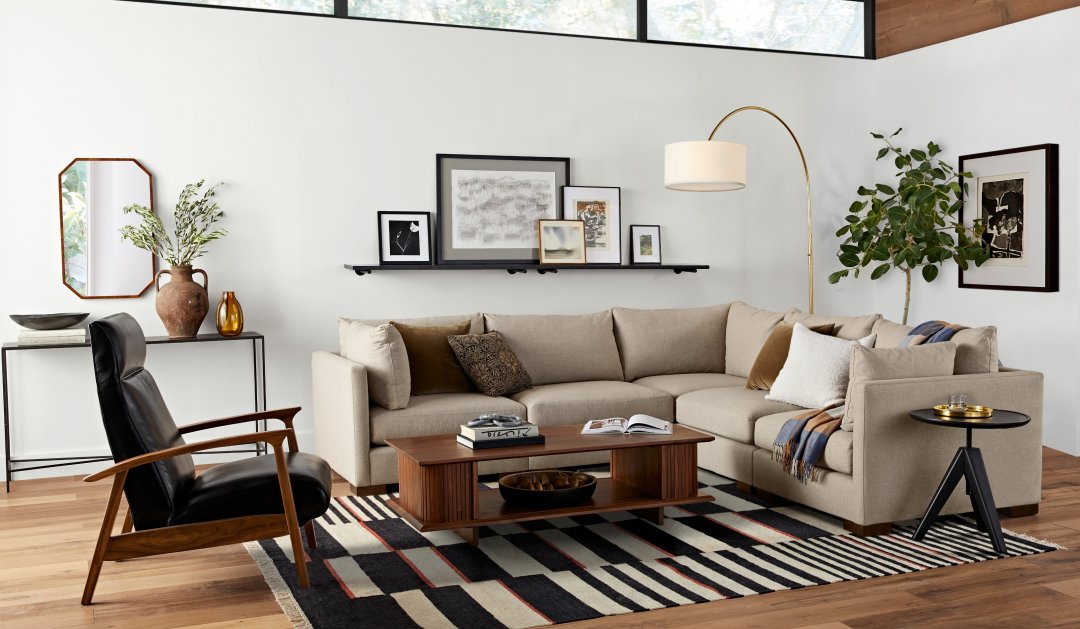
Gallery walls are great for both private and communal spaces in the home. If you want to celebrate your finds and make it a focal point for visiting guests, we recommend creating a gallery wall in your entryway, living, or dining room.
The length, height, and furniture in your space will determine how many pieces you’ll need. For example, a smaller entryway may only need five to six pieces of art hung over a console table. Our vintage collection also features plenty of statement-making pieces along with retrofitted lighting—excellent conversation-starters to give your space extra character.

Here are two compositions we recommend:
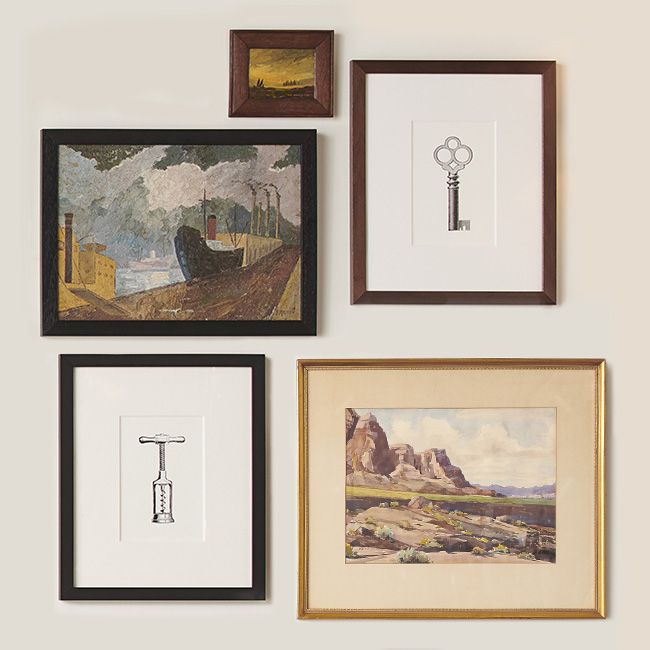
Salon
A more eclectic choice, a salon-style wall features frames of different sizes, shapes, and styles. You can even mix in objects like vintage clocks and baskets to add dimension. “I lean toward salon because I think the interplay between shapes and sizes can be an interesting visual statement in itself,” says Jordan. “A more eclectic mix of frames is also less limiting in terms of the artwork you can feature.”
Grid
Evoke a modern gallery look with a clean, linear composition with equal spacing. For this route, we recommend having all your pieces in frames of the same size and style.
For measurements, grid arrangements should have two to three inches between each frame. Salon-style walls don’t necessarily have precise measurements but should have roughly the same distance between pieces, so the composition doesn’t look too cluttered.
Project Tip: Once you have all your pieces collected, play with the arrangement by laying out all your wall art on the floor or a large table. Swap around pieces and make sure it looks right—take a photo so you can remember the composition.
Arranging pieces before hanging them up gives you space to experiment with your final layout.

Play with your layout before settling on the final look.
Tips for Hanging Wall Art
Once you’ve collected your vintage wall art and have your composition, you can start hanging. “When hanging artwork, make sure to consider height,” shares Justin. “Hang the center of mass at eye level.”

Here’s some helpful reminders to get you started:
- Drywall walls are ideal for hanging art—they are sturdier and it’s easier to patch holes if you need to move your composition around. For plaster walls, you’ll likely need to use an anchor, but it will cause damage to your walls and is not recommended if you’re renting.
- If you have plaster walls, pre-drill and/or put a small piece of masking tape on the wall and drive the nail through to prevent cracked plaster.
- Never hang art on just a nail, it can cause damage, we recommend always using a hook and nail. It’s also best to avoid cheap hooks and opt for better brass hooks with black hardened steel nails., as they will cause less damage to your walls.
- If you are having trouble keeping your pictures hanging level on your walls, hang the wire over two wall hooks spaced about a hand’s width apart.
- When hanging a larger, heavier piece (or mirror) instead of wire, carefully position two hooks on your wall to receive each ring hanger of the frame. Adding wires can cause the frame warp, twist, split or crack.
- Many older homes often have a ledge at the top of decorative molding, which is great for hanging picture wires without damaging walls.
- Measure twice and drill once. Again, painters' tape is an excellent way to make sure the nails go in the right places.

Project Tip: A great way to make sure that you have proper placement when hanging art is to cut a piece of paper (craft paper works best, but any paper will do) to the size of your artwork and tape it to the wall. “Move it around to get a feel for where it will look best,” advises Justin.
Here’s a few tools and supplies you might need:
- Stud Finder: A stud finder is a helpful handheld device to help you locate framing studs behind drywall. For hanging lightweight artworks, a stud finder may not be necessary.
- Level: Use to make sure all of pictures sit straight against the wall and don’t look crooked.
- Screws or nails: The choice is yours but screws are generally stronger than nails. Make sure you get the right length, as a longer size will go deeper into your wall to support your wall art.
- Drill or Hammer: You’ll need a drill for screws and a hammer for nails.
- Wall Anchors: For added strength, use wall anchors to support screws.
There’s always something to discover in our vintage collection. To learn more about it or get advice on hanging a gallery wall, schedule an appointment with our Design Crew.
Related Reading: