


Hanging shelves in your home is a simple way to get organized and display your some of your favorite decorative objects. You can also enhance any space with beautifully-made shelves that are perfectly placed. Shelves crafted from solid brass hardware and quality wood finishes in styles made to last will get you through every refresh. Get started by with our easy guide on how to install your shelving.

Supplies
For this project, you will need the following:
- Stud Finder: A stud finder is a helpful handheld device used to help you locate framing studs behind your drywall.
- Level: Use a level to make sure artwork sits straight against the wall and doesn't look crooked.
- Screwdriver or drill: You can use either tool to tighten screws.
- Tape Measure: While you can always eyeball it, the best way to determine your hanging height is with a tape measure.
- Pencil: Use pencil to mark the spot where you want to insert screws
- Wall Anchors: We recommend using wall anchors to support your screws for added strength. Mounting hardware is included with all of our shelf sets.

1. Select Your Shelves
Start by choosing your style of shelving. Many of our shelf styles are designed to pair with our hardware and lighting collections, and feature quality hardware in our custom finishes.
Floating Wood Shelves are a classic addition to any kitchen, laundry room, or bedroom. With hidden brackets, the wood shelf in white oak or walnut finish adds a minimalist profile that works with any aesthetic.

Our Floating Wood Shelves offer an elegant solution for every space, from nooks and inlets to open wall space.
Understated yet elegant, our Brass Rod Shelf and Blair Shelf sets offer a sculptural element with sleek and streamlined hardware. Go bolder with our Trask Shelf's tall, textured industrial silhouette.

Our Trask Shelf features refined brackets in a number of finishes to match our Trask Hardware Collection.
Our Multi-Shelf set makes it easy to hang multiple shelves without needing to measure your hanging distance with hardware that allows you to place up to three shelves on a single bracket.

Hang up to three shelves at once with our Multi-Shelf Brackets. Decide on your shelf width and length when measuring your space—our shelves come in 8" and 10" widths and up to 48" lengths.
Project Tip: If you already have shelves installed, but want to change the look of your room, simply swap out your bracket hardware for a quick update. We offer shelf brackets with mounting hardware for a range of shelf sizes.
Sometimes, a single shelf or two won’t do—for larger shelving options to furnish an office space, library, or living area, our Hart and Holgate Modular Shelving systems include a wide range of options with shelves, desks, media stands, and cabinets. Choose from one of our featured combinations or customize your own to suit your space.

Create your own modular shelving system to fit your space on our website, or connect with our Design Crew for more information.
2. Mark Your Measurements
Once you’ve chosen your shelf set, determine the placement of your shelves. Use a stud finder to find studs, the vertical framing posts inside your wall that provide stability to your brackets. If you’re unable to find studs, use wall anchors to anchor your screws.
Start by measuring the height of your lowest shelf. The ideal hanging height varies depending on your room. If you’re hanging multiples, we recommend leaving 12” to 15” between each shelf—or 2” to 3" above the tallest item you want to showcase.

Be sure to leave enough space between your kitchen countertop and shelf to place items like spice racks, olive oil jars, and cooking utensils.
Room-by-Room Installation Tips:
Kitchen: We recommend hanging shelves 18” to 24” above your countertop.
Bathroom: Be sure to leave at least 24” between your toilet tank and shelf to keep your space from feeling cramped.
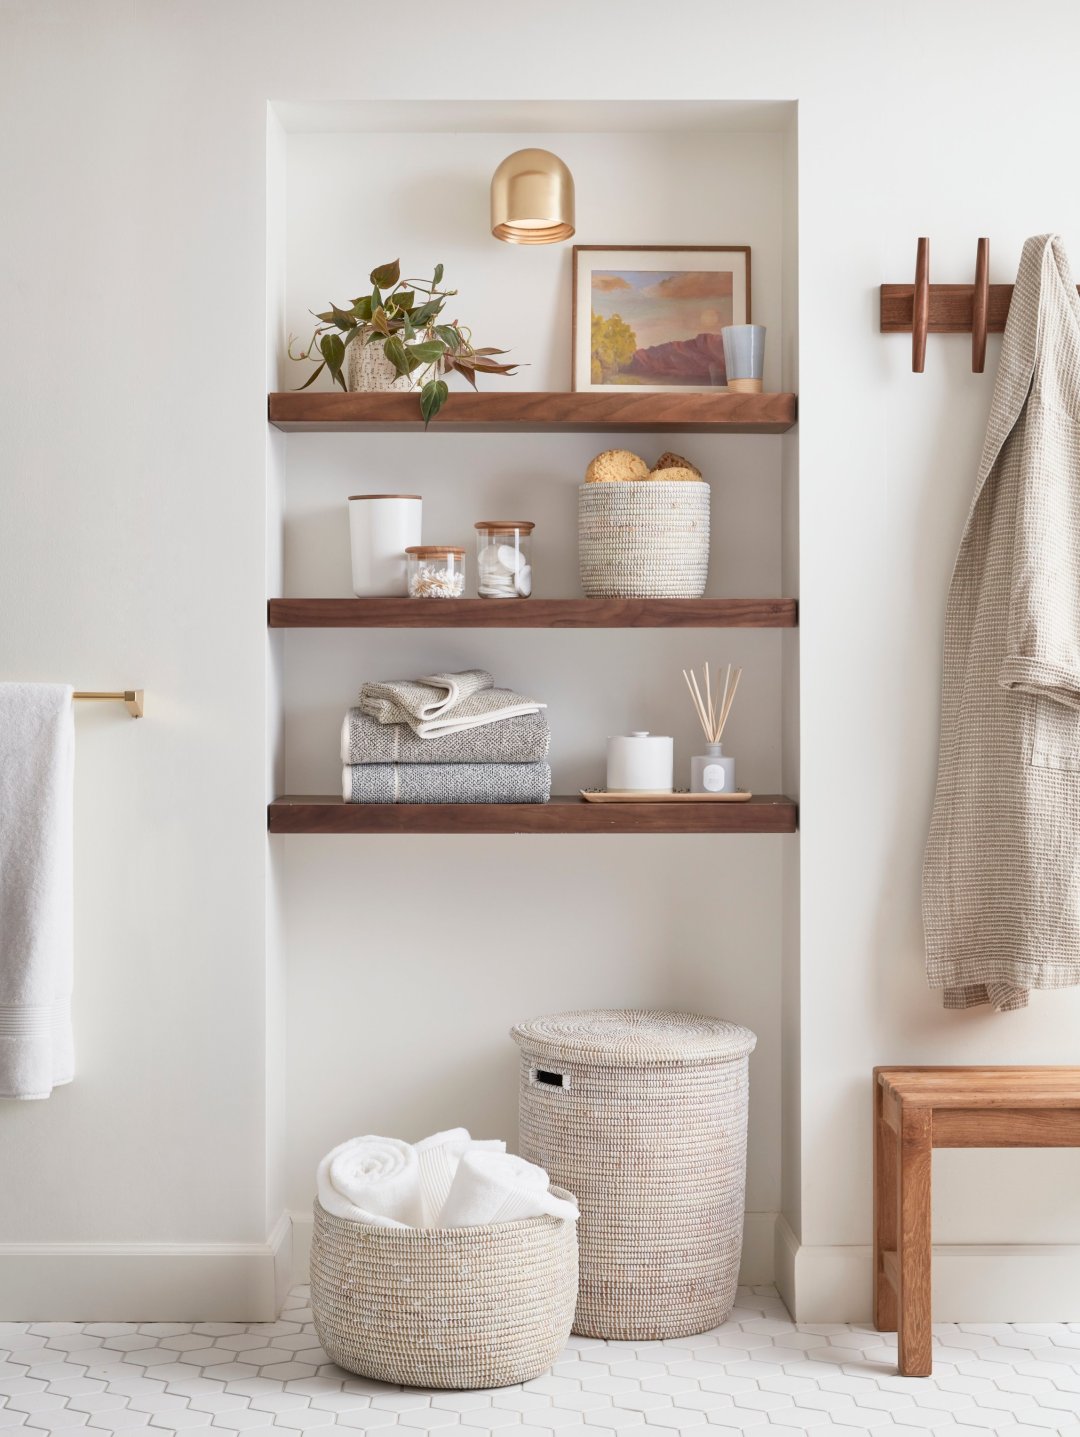
Shelving is only one aspect of organization that you can work into your home—don't forget to include canisters, baskets, trays, towel rings, and hooks for beautiful and stylized storage.
Living and Dining: Your lowest shelf should hang no lower than 10” above your couch or 24” above console. For open walls, hang your shelf 4’ to 4-1/2’ from the floor.
Hallway: To prevent your hallway from feeling too tight, we recommend hanging your shelves 5’ to 6' from the floor.
3. Install Brackets
After you’ve determined your placement, mark the space where your screws will go using your pencil and brackets. Use your tape measure and level to make sure your shelves will hang straight. Once level, drill in your starter holes and wall anchors, if necessary, then screw in your brackets.

Design Tip: Not sure which lights go best with your new hardware? Our designers have created lighting, hardware, and plumbing collections that are made to match. Our Blair Pendants pair beautifully with our Blair Shelf Set.
4. Hang Shelves
Center your shelving and screw in any remaining hardware.
5. Accessorize with Beauty and Function in Mind
Once your shelves are up, you can now add functional accessories to utilize your space even more efficiently. Hooks and rail systems hold useful tools for your kitchen, garden and bathroom—our Rod Bracket & Shelf Set includes a built-in rail that elevates a simple shelf with more defined areas to hang organizing baskets, towels, and other tools. Wine glass holders add extra space below your shelf to display glassware. Above the shelf, store and display items in sleek canisters, larder crocks, and bins. Finally, showcase beautiful planters and vintage artwork and pottery to add character and style.

Embrace open organization with hooks, rails, and canisters to showcase all of your most reached-for items.
For additional tips on how to hang and style your shelves, consult our Design Crew for more personalized advice on what best suits your home.
Related Reading:
How to Elevate & Organize Overlooked Spaces Around Your Home