


Installing new hardware provides the perfect finishing touch for your space, whether you're planning a full kitchen remodel or doing a DIY cabinet update. Swap out your existing kitchen hardware for a quick refresh, or complete your new bathroom vanity with a set of drawer pulls.
Switching your cabinet hardware takes only minutes for each cabinet—all you need is a measuring tape, standard screwdriver, and your new hardware. Our cabinet hardware comes equipped with all the necessary screws and mounting hardware, making installation easy. Before purchasing, make sure you check the mounting type and center-to-center size of your existing hardware or pre-drilled holes.
If you're ordering new cabinetry for your kitchen or bath, you'll want check the measurements for any pre-drilled holes so they align with your hardware size. If you're drilling the holes yourself, there's a bit more information involved to ensure you get it right the first time. See our list of essentials and key measurements below so you have all the information you need before starting.
What You'll Need
- Standard screwdriver
- Measuring tape
- Pencil
- Drill + small drill bit (if drilling custom holes)
- Cabinet hardware jig or template
What You Need to Know
-
Center-to-center: This measures the space between the two screw holes used to install each side of a drawer pull, which could be slightly wider or narrower than the total length of your drawer pull. For cabinet pulls, standard center-to-center screw holes measure between 3 to 5 inches, or 64, 96, and 128 millimeters apart.
-
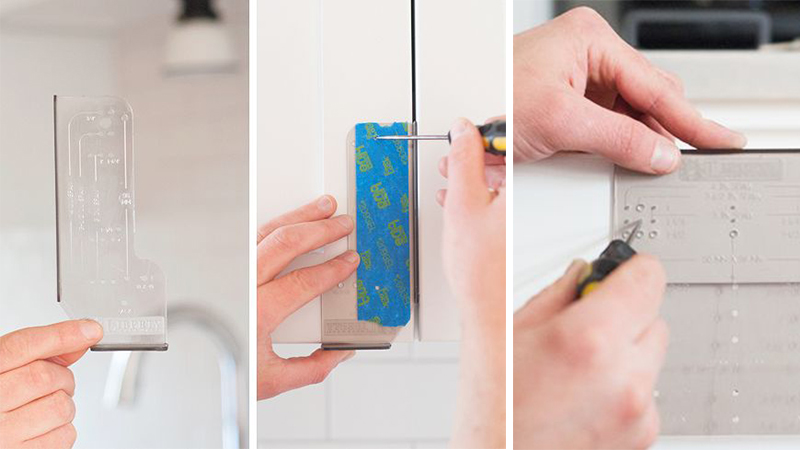
Jig: A cabinet hardware jig (shop our easy-to-use option here) is a plastic template that has pre-measured holes, offering easy correct placement for your cabinet hardware.
-
Slot-Head Screws: Traditional, solid brass screws used to mount hardware on the face of your cabinet.
-
Bolt-Mount Screws: Used to mount hardware from the backside of your cabinet.
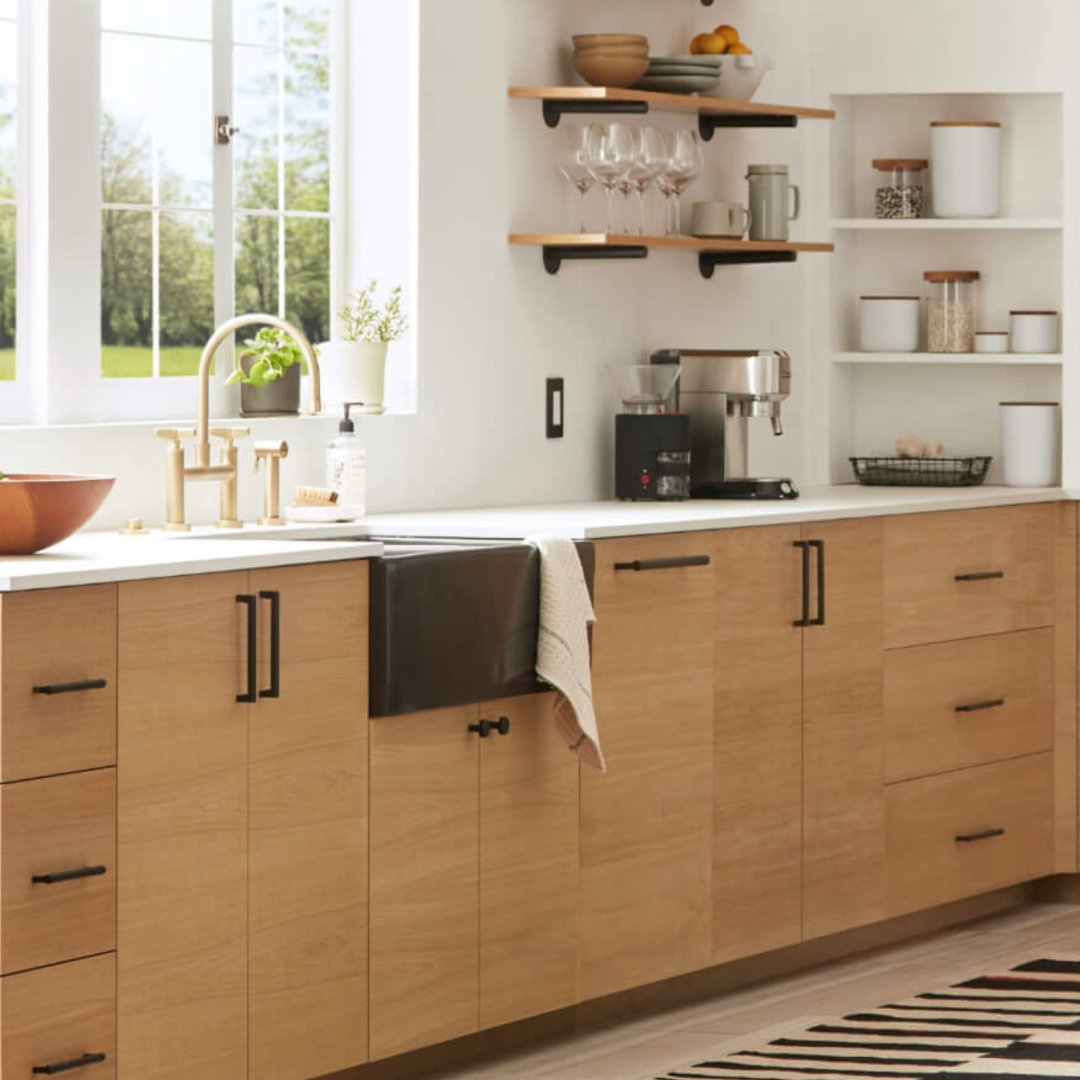
Step One: Hardware Placement
As shown above, here are four different ways to use cabinet pulls and knobs on your drawers and doors:- All knobs: Knobs offer an easy-to-install option that doesn’t take up much space on your cabinetry.
- All pulls: For a more sleek look, handle pulls are easy to grab and can be installed vertically or horizontally.
- Knobs on uppers, pulls on lowers: Mix and match knobs and pulls based on your style of cabinetry; simple knobs are ideal for clear glass doors.
- Knobs on doors, pulls on drawers: Install handle pulls on all drawers for easier use, especially if any of them will hold heavy items.
While the exact placement of knobs and pulls is open to personal preference, there are standard measurements that will suit most kitchens. Cabinet knobs and cabinet pulls are usually placed between 2 1/2 and 3 inches from the corner of the cabinet door (the side opposite from the hinges).
For upper cabinets, hardware should be placed on the lower corner. On lower cabinets, hardware should be on the upper corner opposite the hinge. For drawers, center the hardware in the middle of the drawer, both horizontally and vertically.
As a general rule of thumb for traditional spaces, place knobs on doors and pulls on drawers. Although rules are always made to be broken, for example, using pulls all over can give your space a sleek, contemporary feel.
Also, if your drawers are longer than 24 inches, double up on knobs or pulls. Do this by dividing the drawer into thirds and place your hardware on the left and right portions.
Step Two: Pre-Drilling Your Cabinets
If you have pre-drilled holes or existing hardware, you have a few options. The easiest choice is to replace your existing hardware with an option that has the same mount type (surface or back-facing) and center-to-center measurement. If not, you can re-drill or fill any existing holes to suit new hardware with the same center-to-center, or get a wider center-to-center size that covers up any existing holes.For drilling your own holes, start with a tape measure and a jig template. Use the tape measure to find the center of the cabinet door, then mark it with a pencil; this will create a crosshair with the horizontal line of the cabinet. Line crosshair up with the hole in the jig, then mark the hole where you will pre-drill.
After you've triple-checked your mark for the drill hole, repeat the process for all of your cabinetry. Then use a level to ensure all the holes and hardware will be level for the upper cabinets and then the lower cabinets.
When you start drilling, begin with the smallest drill bit possible. Once you drill into the cabinet, there's no turning back. A smaller bit will also help prevent any splintering on the backside of the cabinet as you drill through—for extra protection, place a strip of masking tape over your marked spot before drilling in.
Step Three: Hardware Installation
The hard part is over—now it's time to gather your hardware of choice, making sure you have the necessary screws and mounting hardware. Place your hardware in front of the drilled hole, then use a screwdriver to secure the hardware from the inside of the cabinet. The screws should be snug so that there's no movement from the knob or pull. Repeat for any remaining cabinetry, and enjoy your new look!For more information, watch our video below for the basics on how to swap out your drawer pulls.
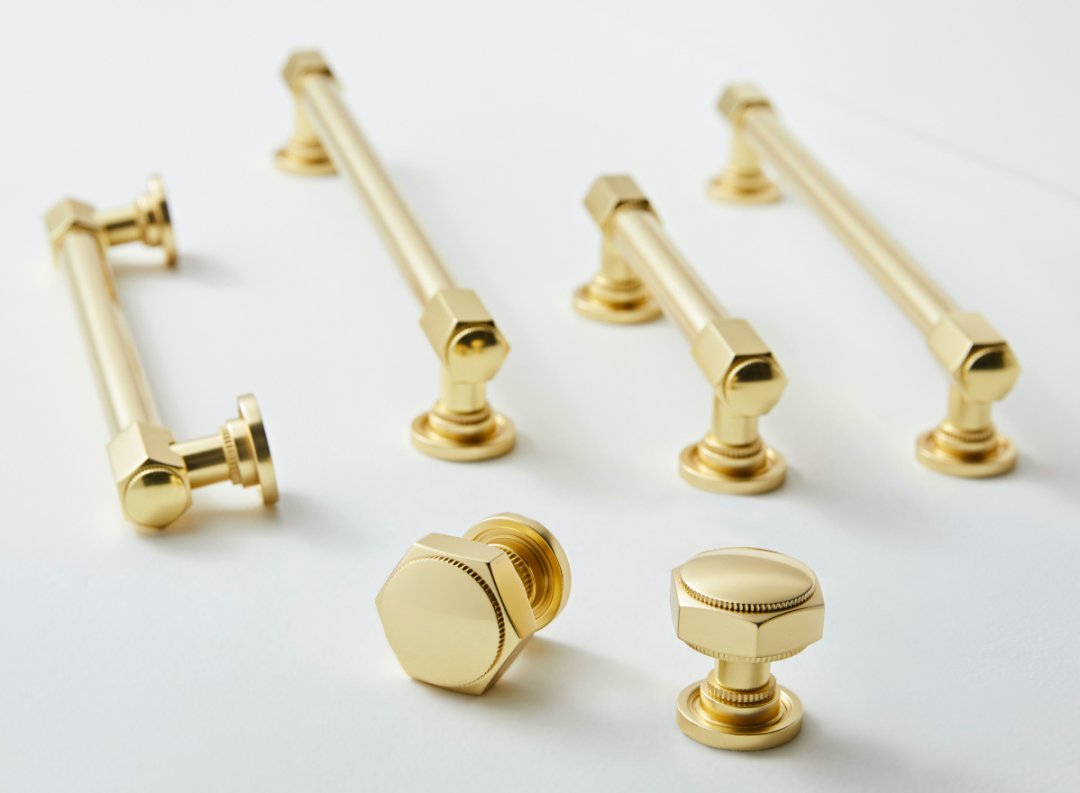
Shop our high-quality cabinet door pulls and bin pulls, cabinet knobs, and cabinet latches to get started.